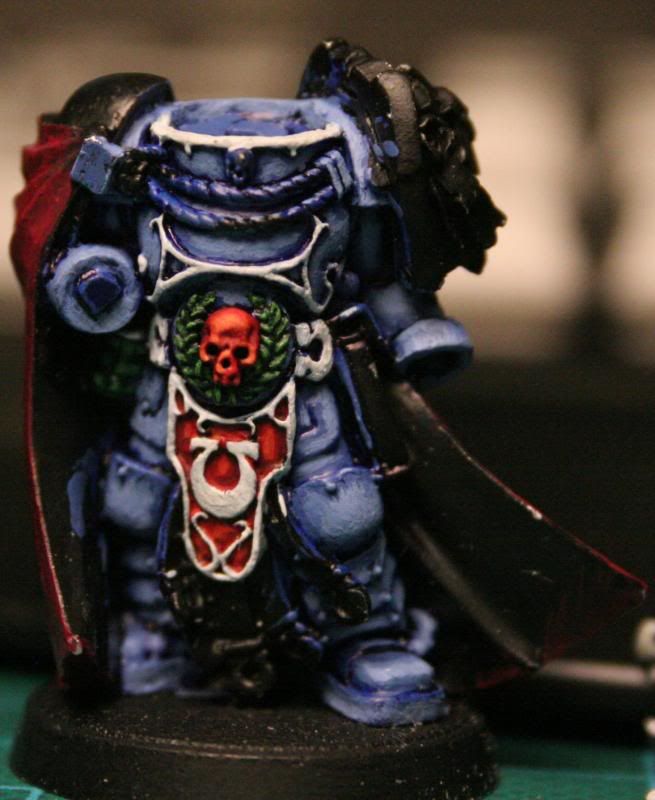
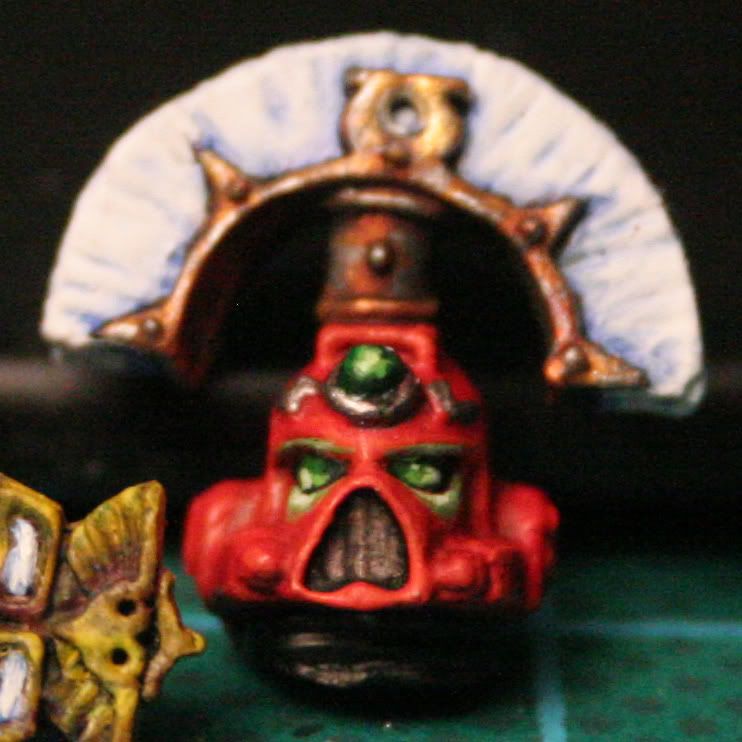
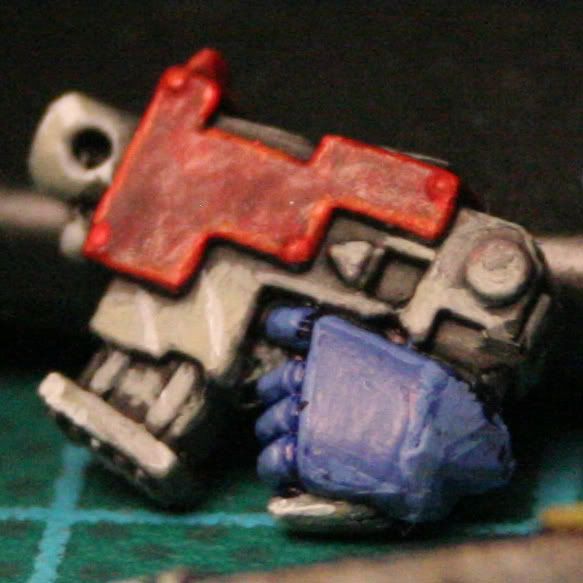
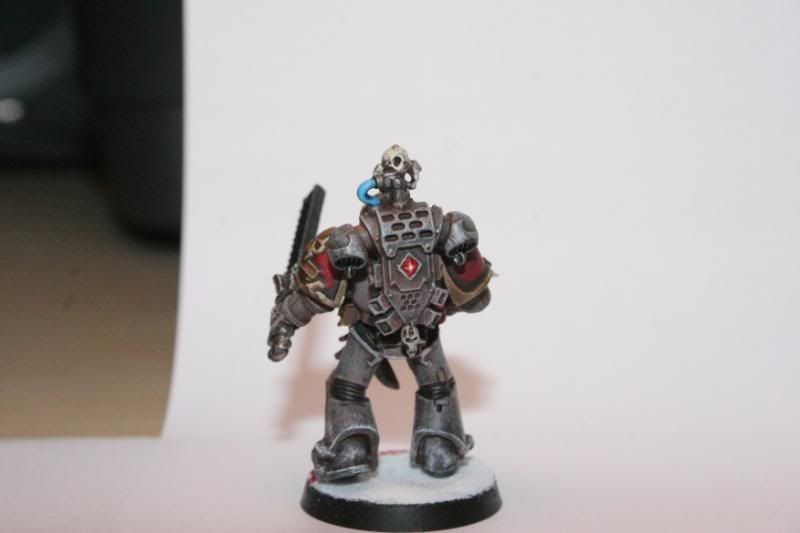
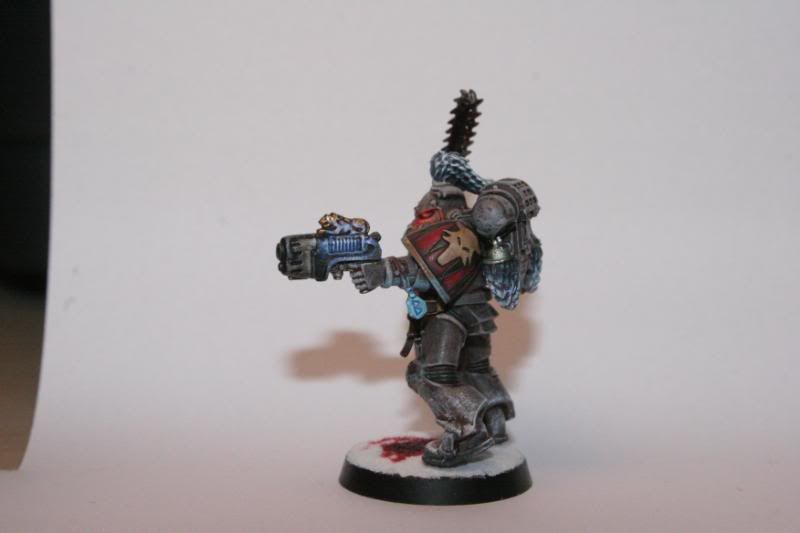
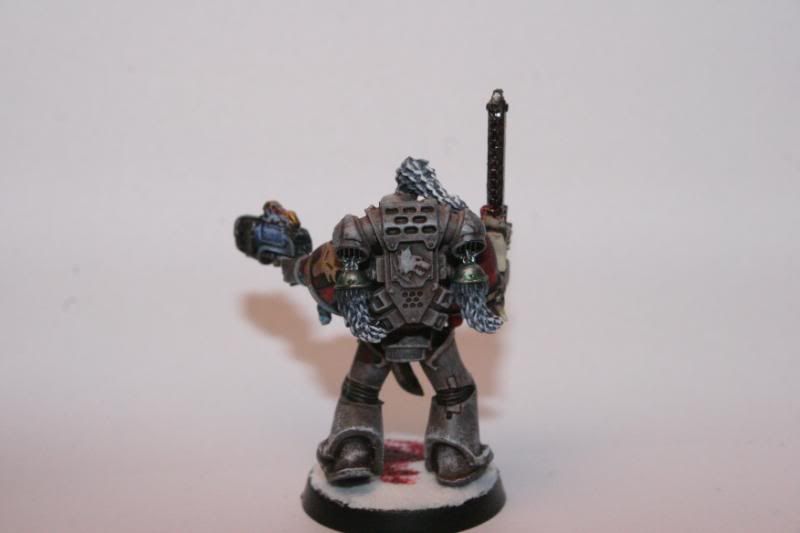
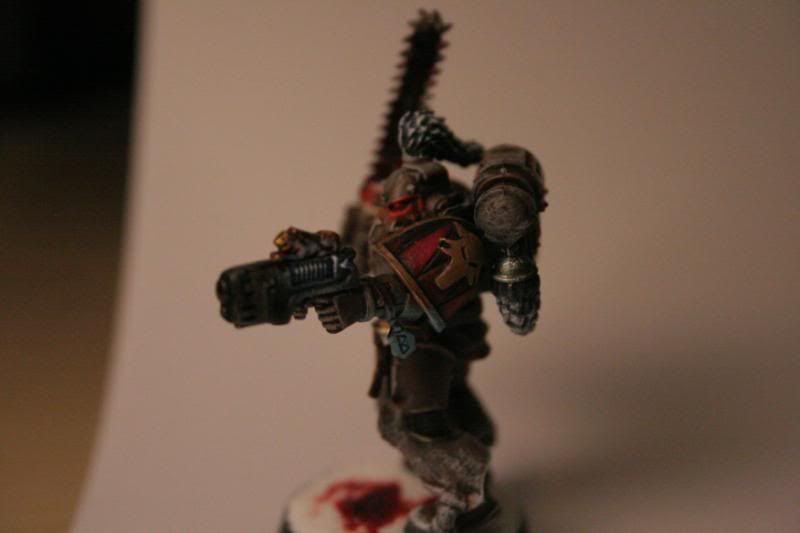
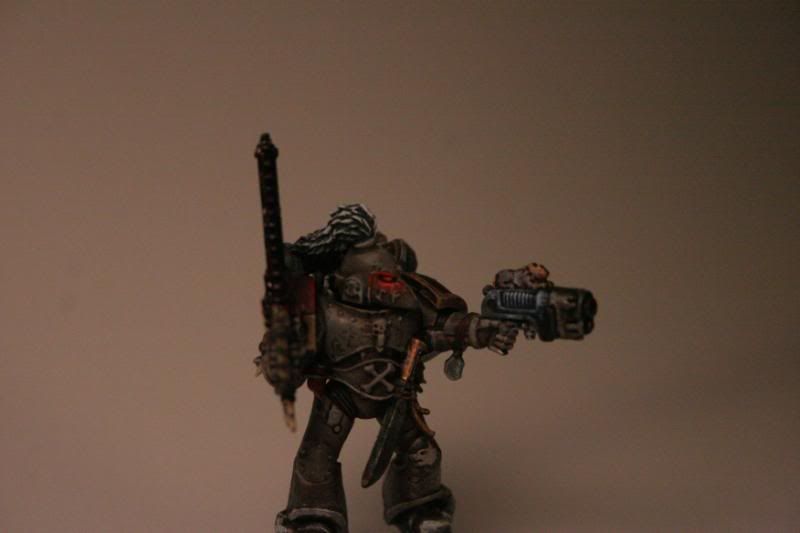
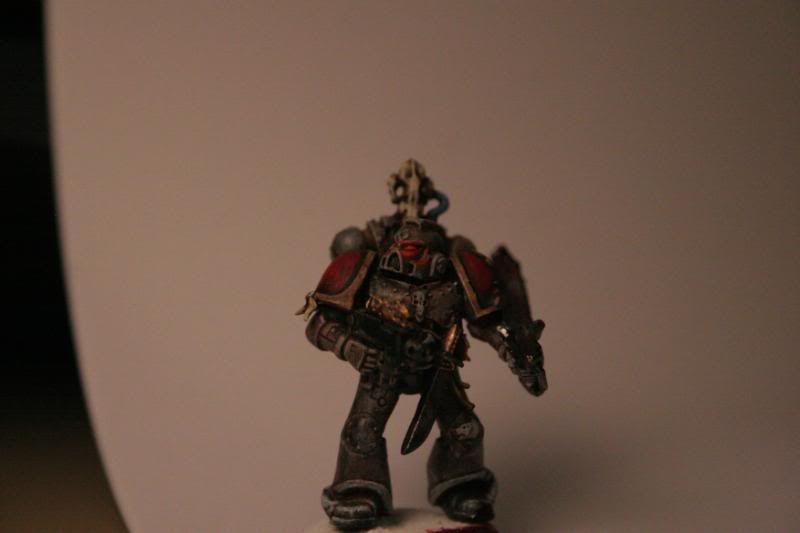
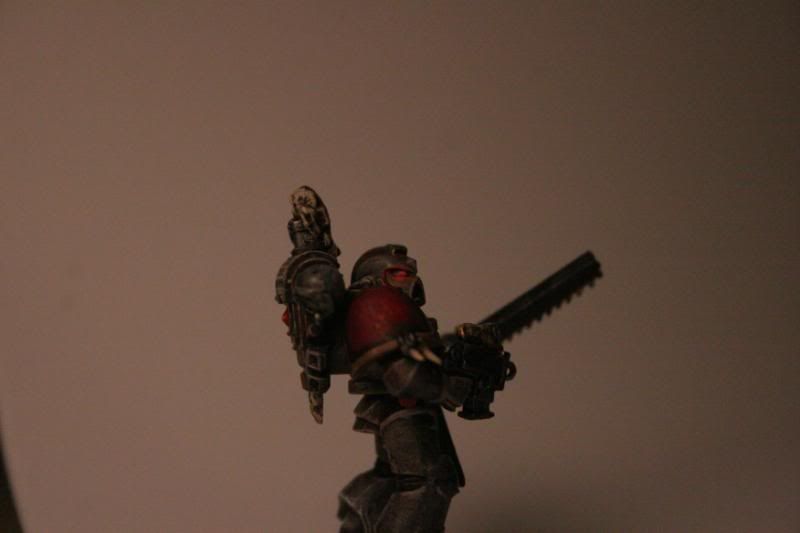
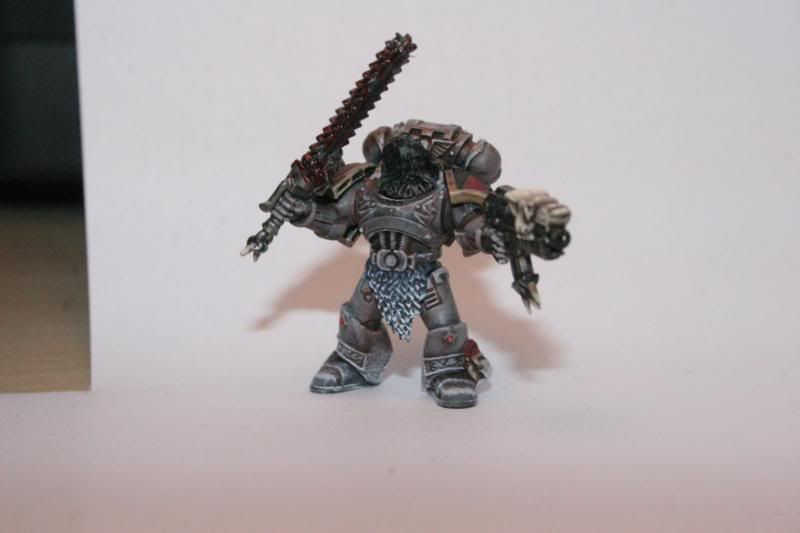
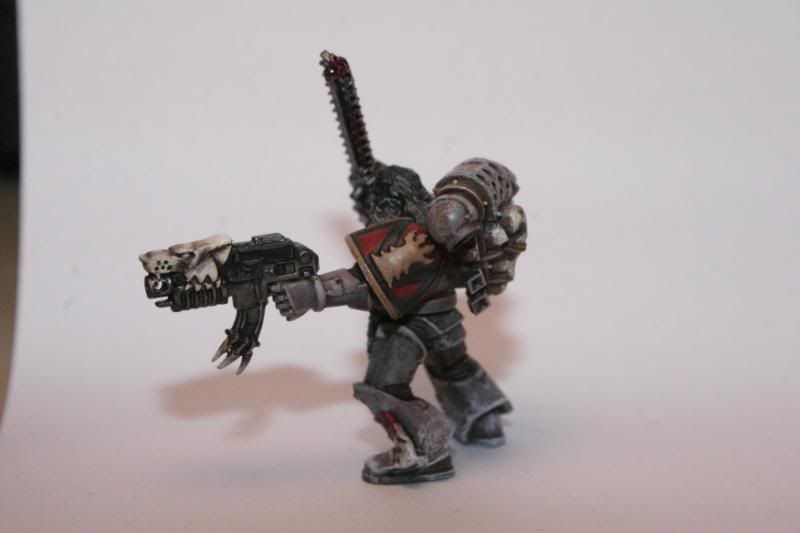
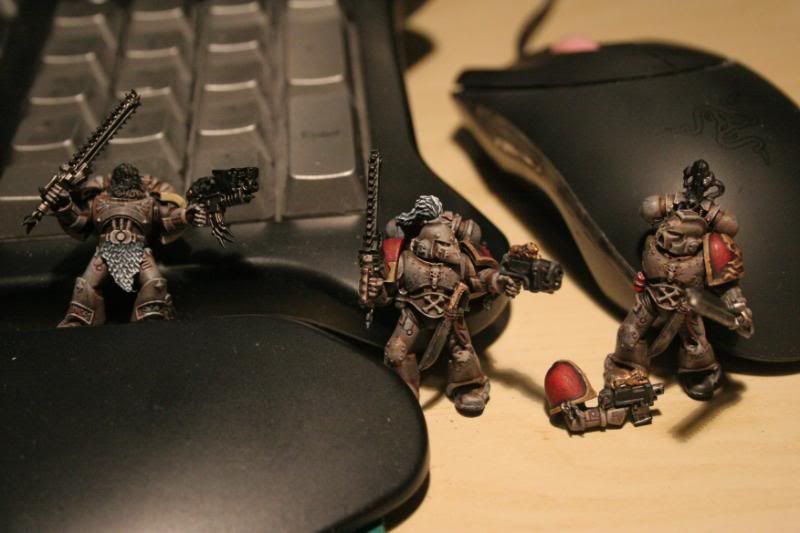
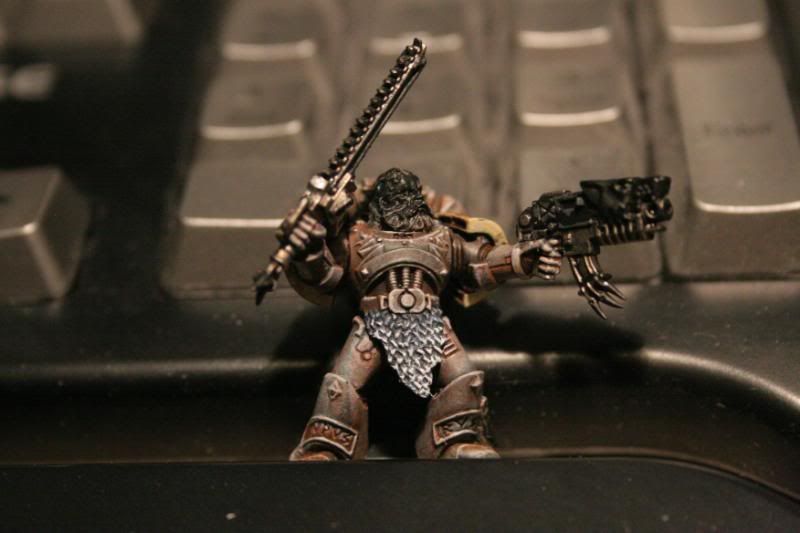
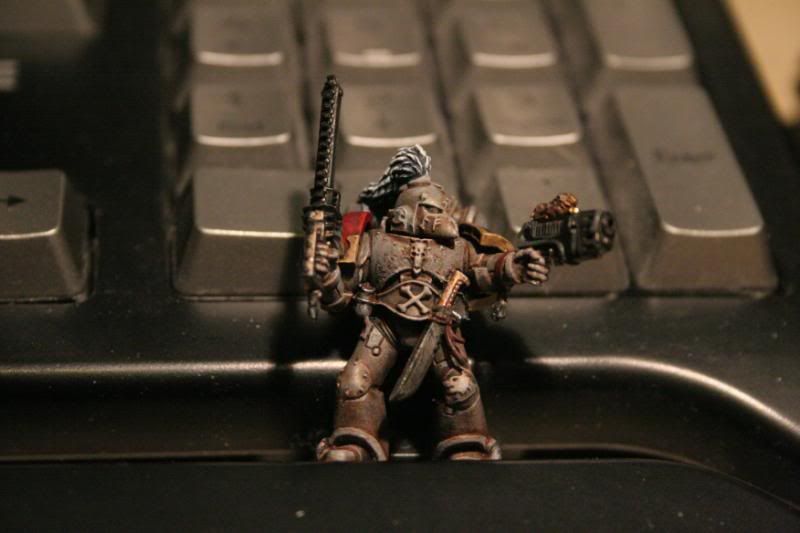
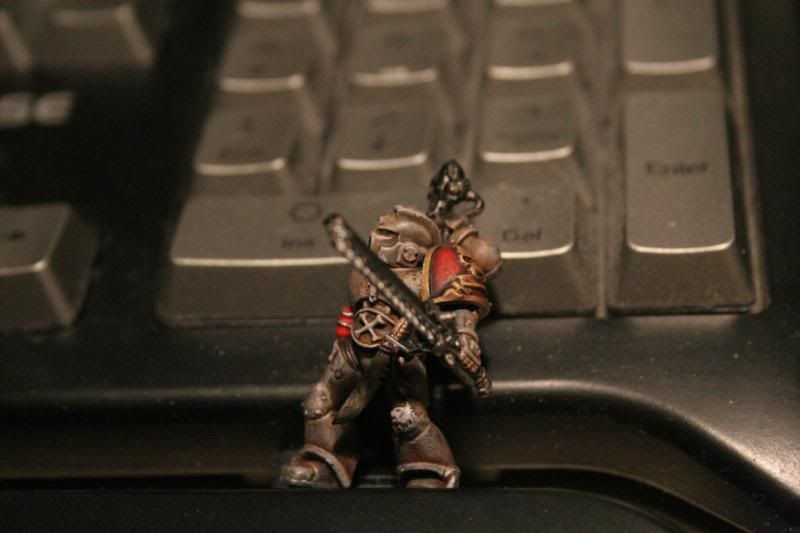
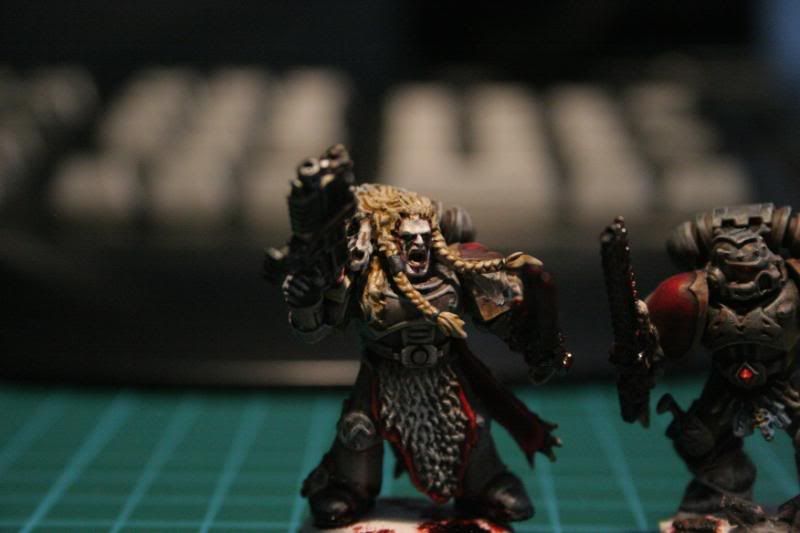
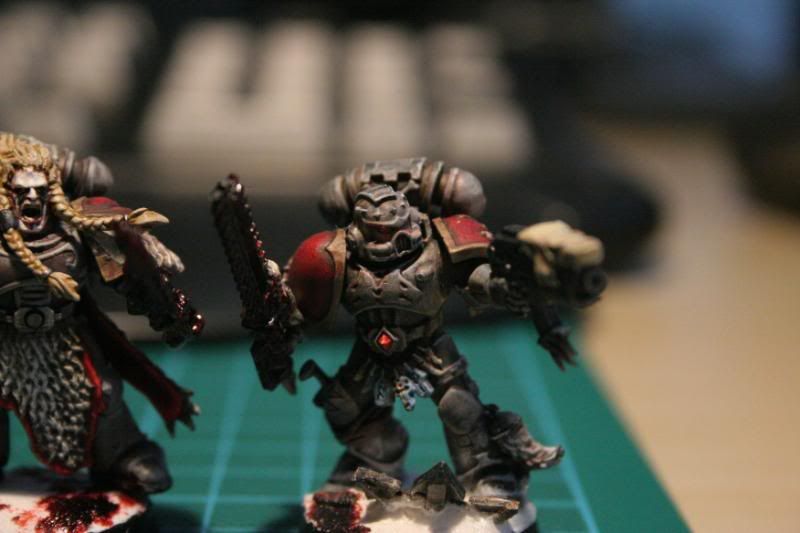
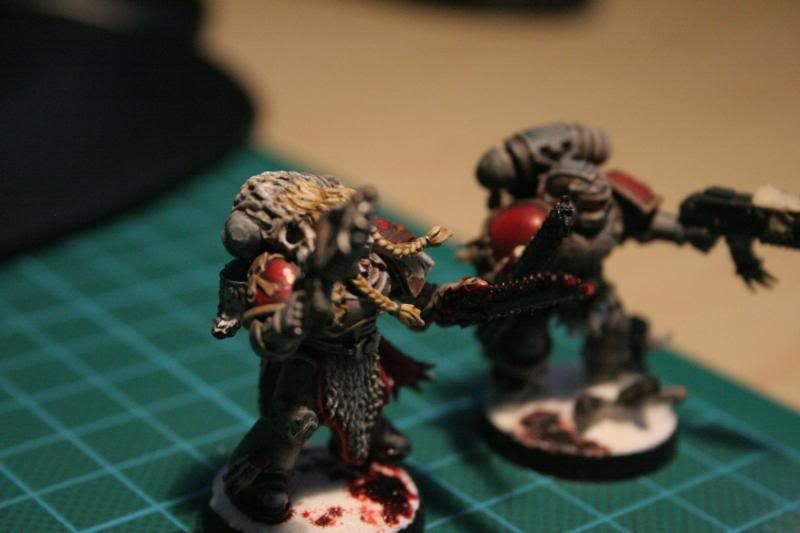
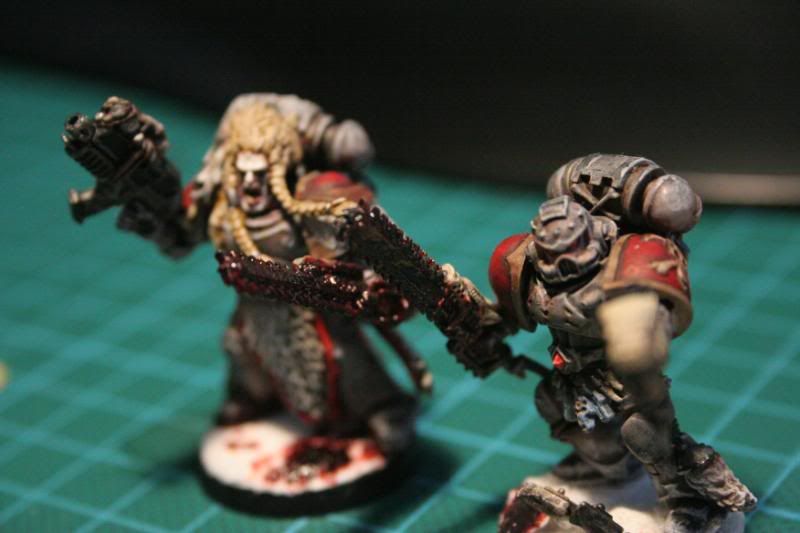
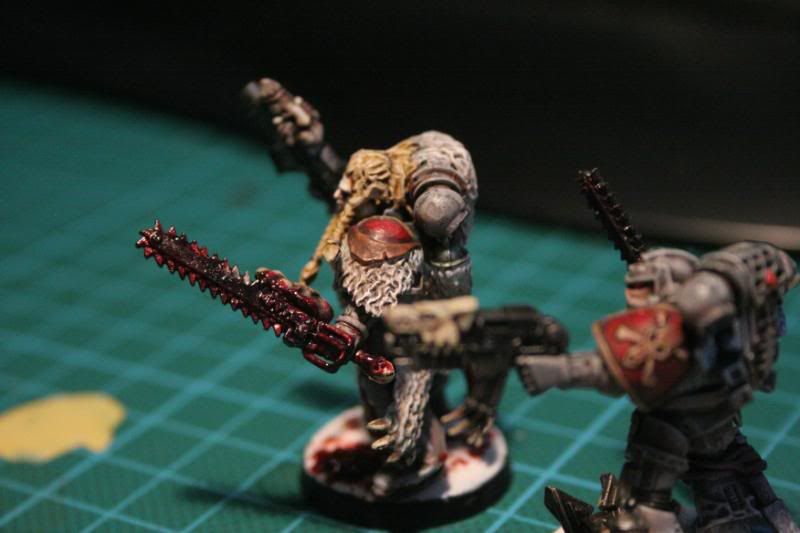
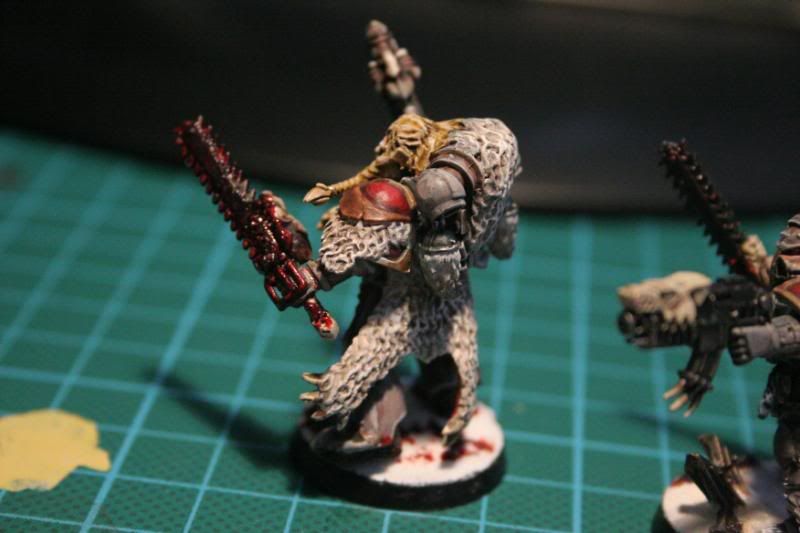
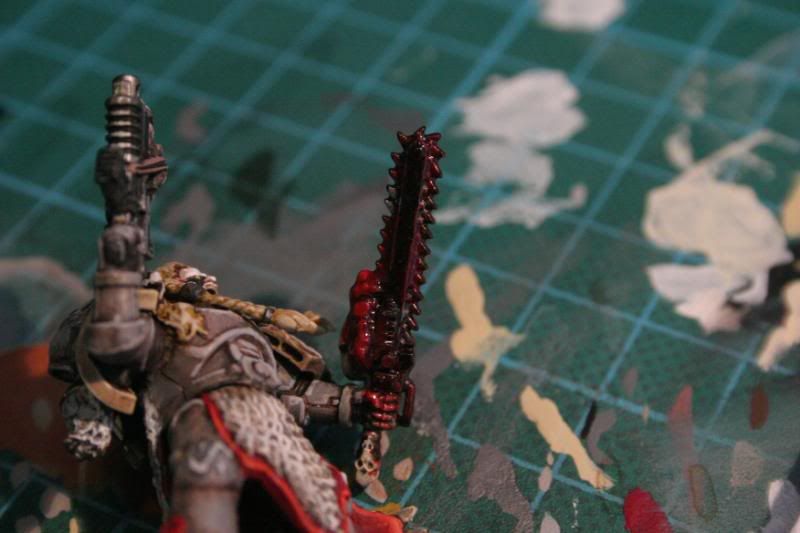
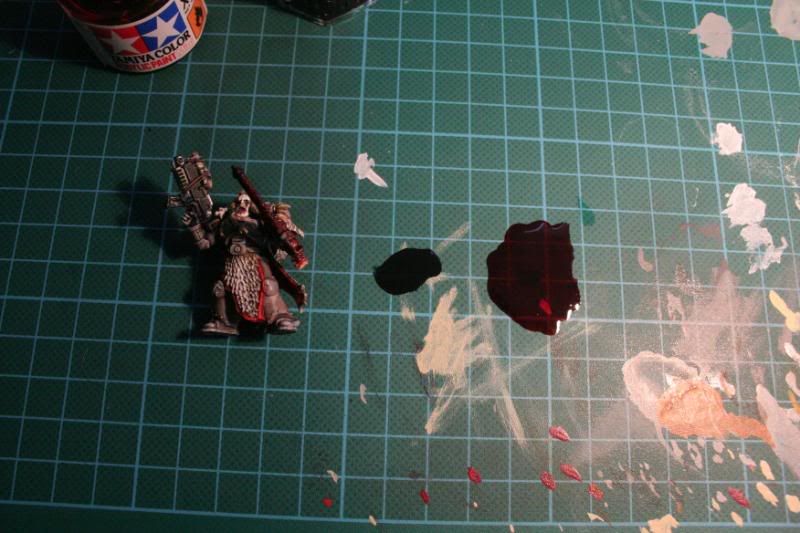
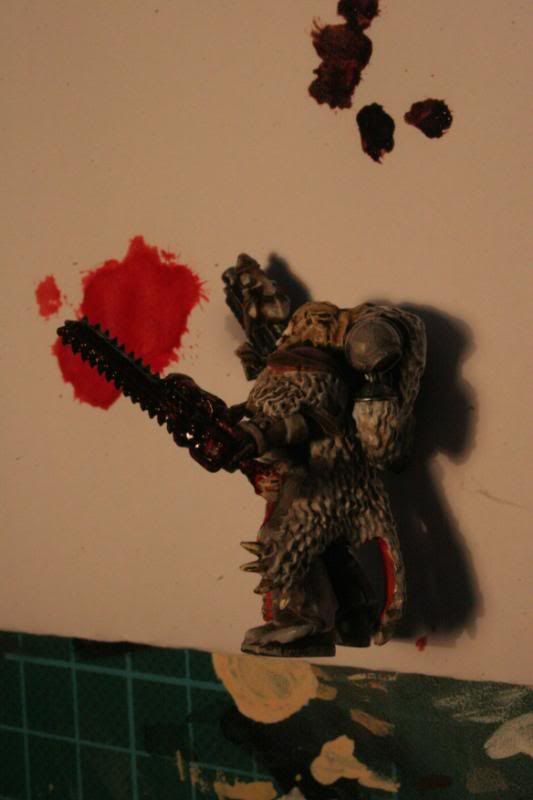
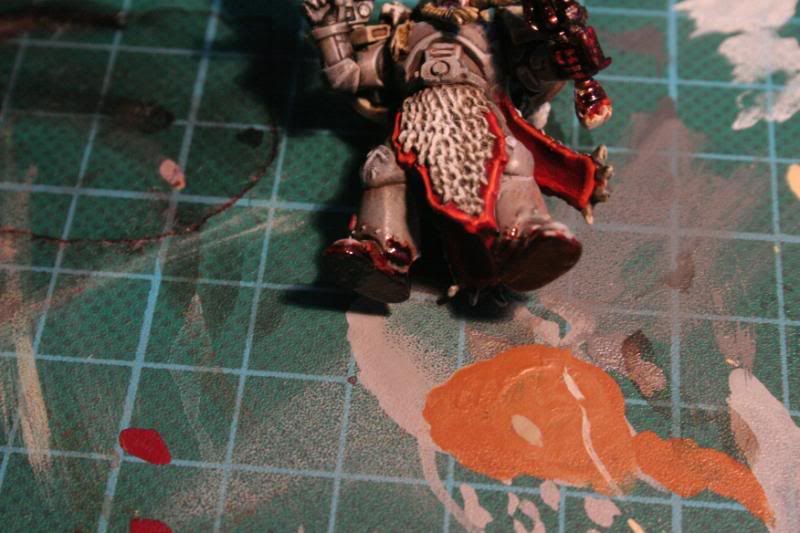
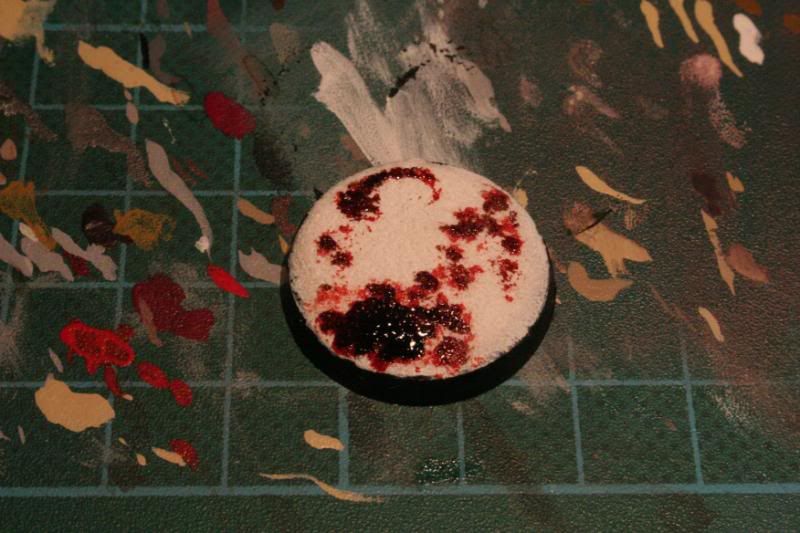
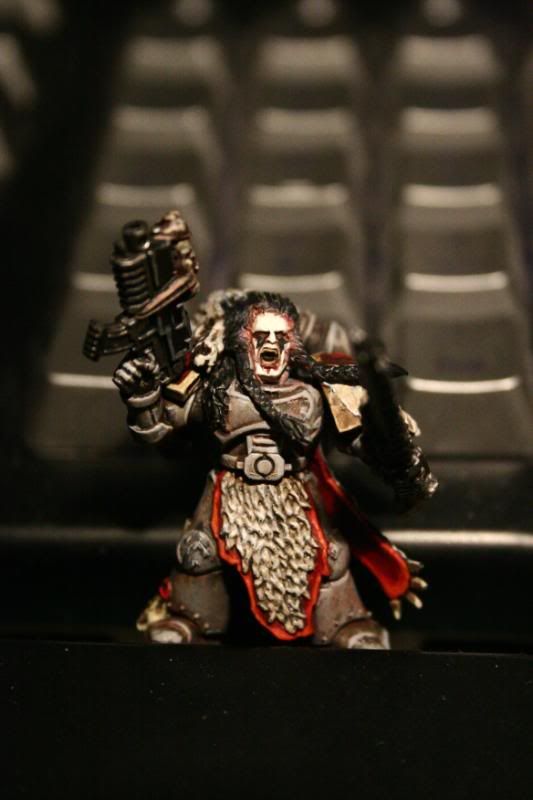
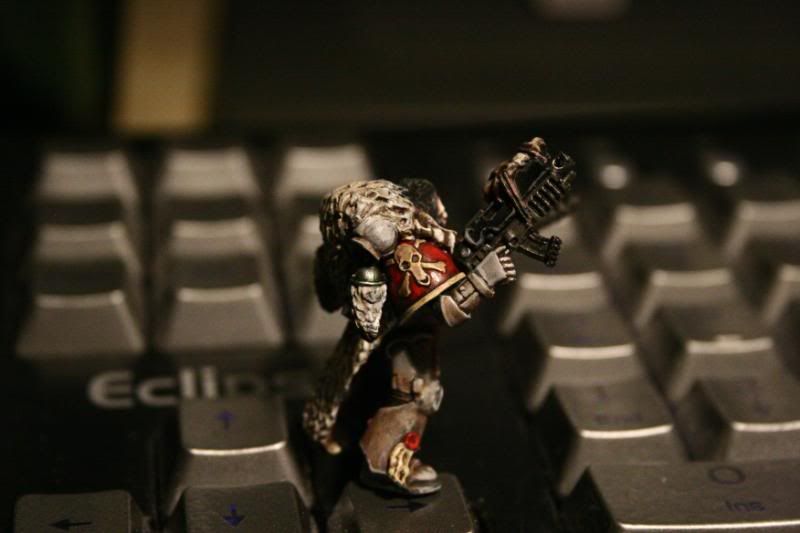
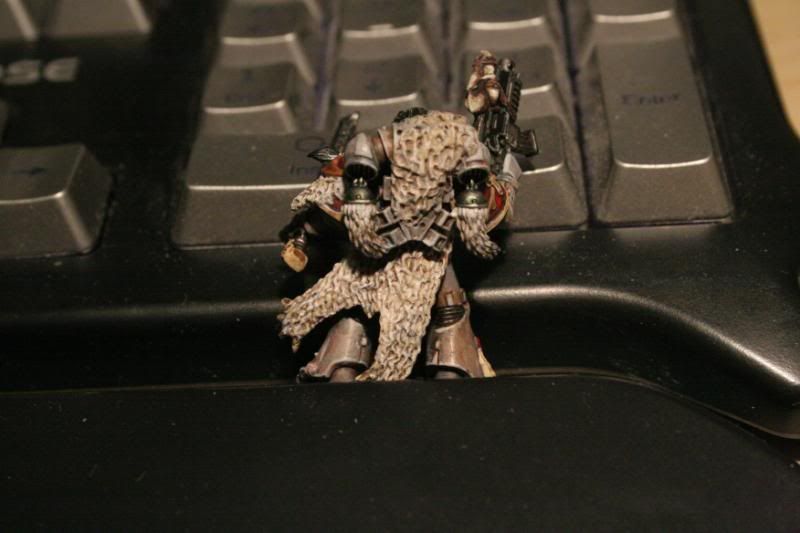
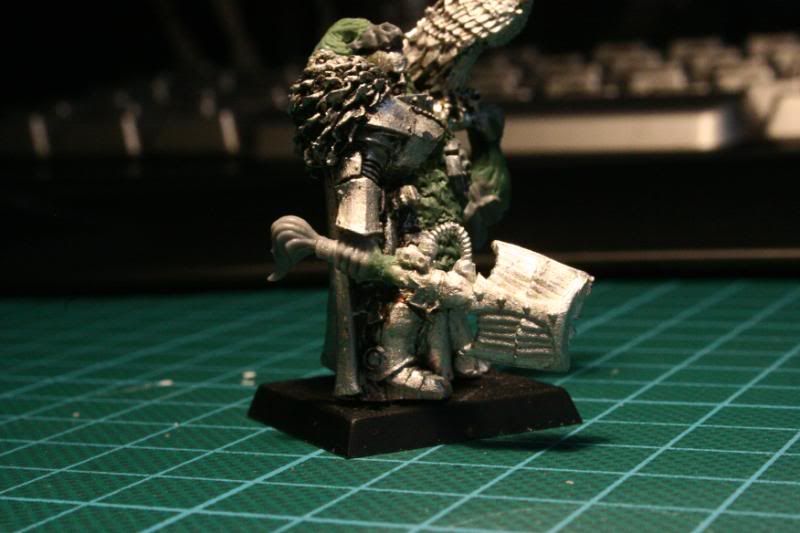
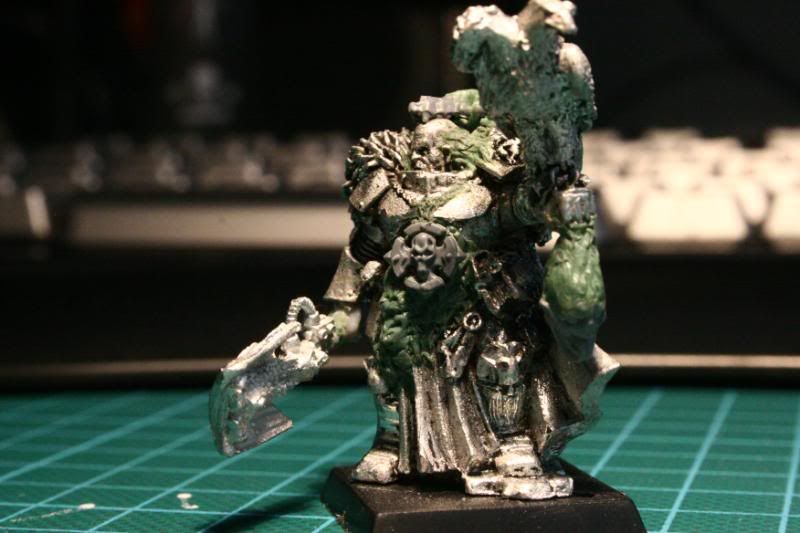
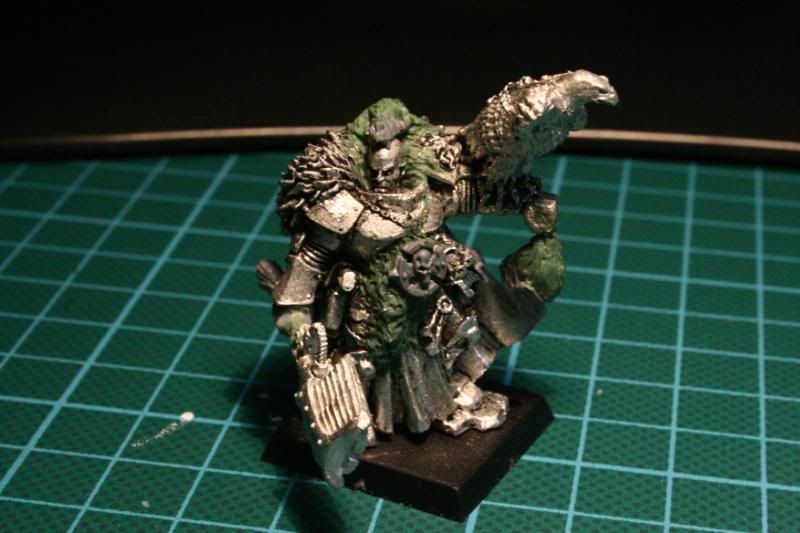
My old man sent me an email with a few pics taken when I was somewhere between 11-13 years "old".
This is how I painted back then (Completely horrible)
And I DID play Fantasy back in the day... (Shame on me)
Oh and sorry about no updates on the wolves or the Ultramarine, the Ultrad00d will be complete tonight hopefully; have been a lot of stuff getting in the way. The Wolves will be resumed once he is complete.
Cheers for now
Sunday, January 31, 2010
Tuesday, January 26, 2010
More work on my Ultramarine
The cape is now done (after the pic was taken I added a red wash to bind the colors together as well as tidied up one of the highlights).
The Sword have also received maybe 4-5 more layers on the golden NMM.
And yes, the small bumps on the cape have been taken care of (2 of them was mould-"dots" which I didn't see until I had highlighted them :P)
Cheers
The Sword have also received maybe 4-5 more layers on the golden NMM.
And yes, the small bumps on the cape have been taken care of (2 of them was mould-"dots" which I didn't see until I had highlighted them :P)
Cheers
Saturday, January 23, 2010
Something out of the "ordinary"
So... I know this is out of the ordinary but since I'm going to take part in a duals tournament with my pal Dennis over at: minisofdeath.blogspot.com very soon at GW Stockholm and my wolves aren't anywhere even remotely close to done (as you all can attest to :P) I will be playing with my tabletop standard Ultramarine army (I painted this army about 10 years back, and I started with Ultras back in the 2nd edition when I was just a juve so don't go bashing on me for having kept with my chapter all this time ;P).
I needed a Chapter Master armed with nothing but a normal CC weapon and a bolt pistol, which none of my HQ's had (I'm not used to playing only 750p games :P) I went out and bought Sicarus, because he screams Ultramarines.
My original plan was to make him tabletop standard, but I failed quite large when I realised I spent quite some time on the head alone, so not the entire model had to be painted to a good standard, but I figured that since there's both B&C's and GW Stockholm's painting comps. coming up real soon I might as well paint him nice and add him to my line-up of competing models :P
This was my first go at NMM (Having not read any guides on it either), he will have golden NMM shoulder pads, a crimson red/decorated tan cape and white ropes when done on top of what's painted now. Might also add some freehand on the cape.
Since this is my first NMM model ever, comments and critisism are greatly appreciated on this one.
Thanks for looking, comment/subscribe/follow if you enjoy my stuff.
PS. I love doing tutorials, so if you have any questions on how I do stuff, please, ask ;)
Cheers!
Wednesday, January 20, 2010
5th Wolf Complete
Tuesday, January 19, 2010
2 more wolves done, 1 90% finished
Sunday, January 17, 2010
3 more enroute!
Alrighty, I've had the apartment for myself Saturday -Monday (that's right, the "vacation" isn't over yet ^^,) and thus I've enjoyed some great live metal DVDs (Amon Amarth, Dark Tranquility, Arch Enemy, Vital Remains, etc.) while painting.
These guys are almost done (well, like 70% done at least :P)
Oh and I'd love some input on what color I should use for my plasma coils on these guys.
I've used green for my Black Legion, Blue for my Ultramarines and I'm thinkin' a bright orange for these guys, but I'm concerned about the amount of red/reddish colors on them already, will it be too much (seeing as they already have red eyes, red shoulder pads and red on the backs of the pelts as well as on the gems) ?
Comments and Criticism is always wanted and greatly appreciated!
Friday, January 15, 2010
Weathered Wolves.....finally
Sorry for the delay, School and some other things *cough* Dragon Age: Origins *cough* halted my painting progress for a little while, but now I've been working on this tutorial for you guys over about 3 days time. And it's done :D
Step one:
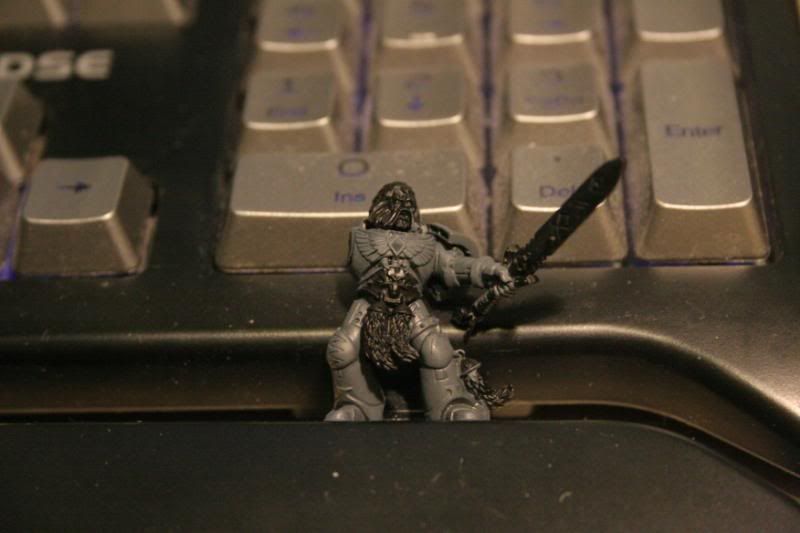
Basecoat the model with Adeptus Battle Grey
Step 2:
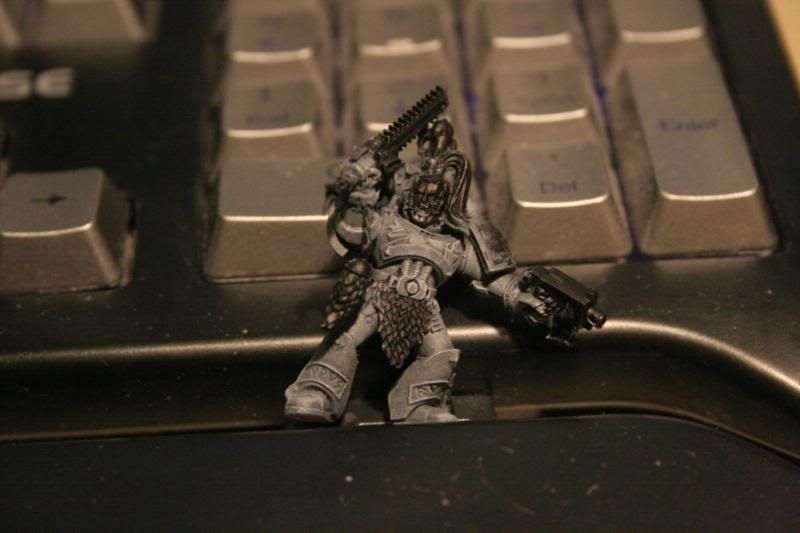
Drybrush with Fortress Grey
Step 3:
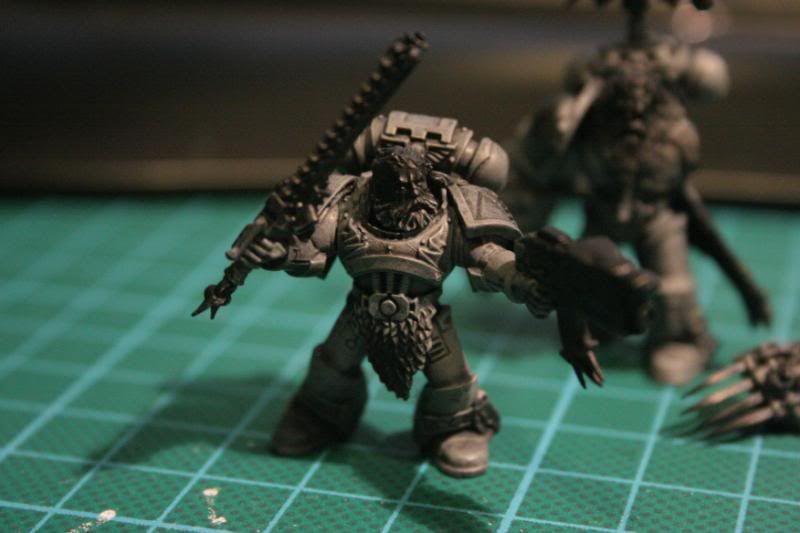
Wash the model Babab Black
Step 4:
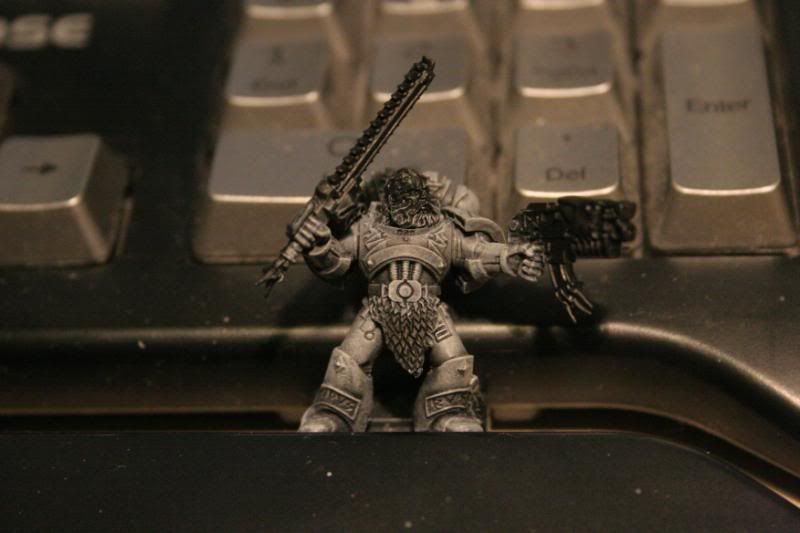
Drybrush Codex Grey, in this step I try to get more paint where the light is supposed to be hitting the model's surfaces.
Step 5:
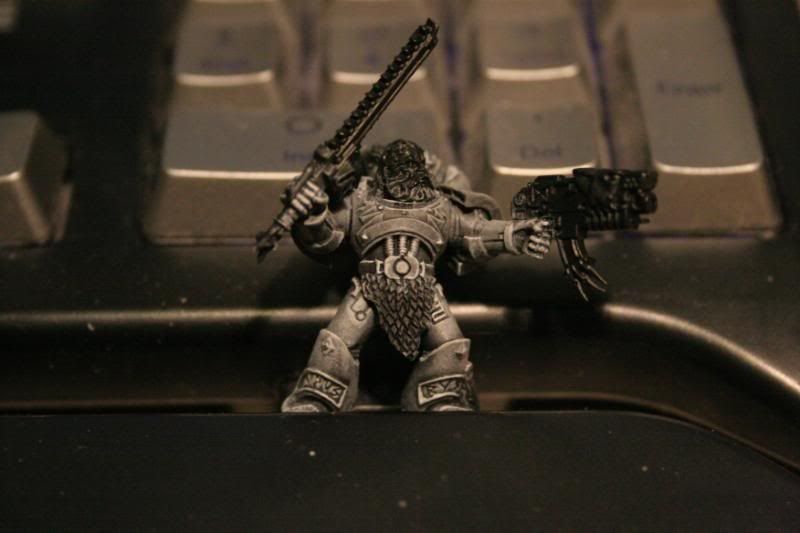
Now Drybrush with fortress Grey again, still keeping in mind where the light is supposed to hit the surfaces (this is only if you want to achieve such an effect on the model).
Step 6:
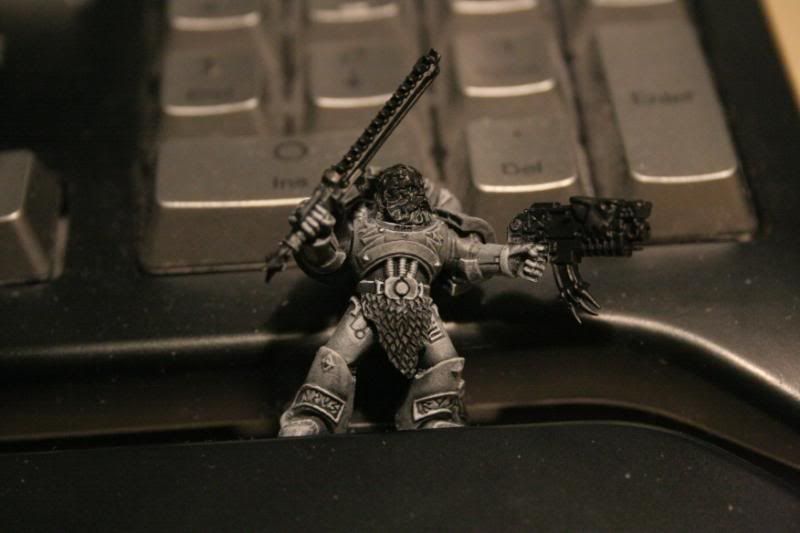
Highlight the model with Fortress Grey
Step 7:
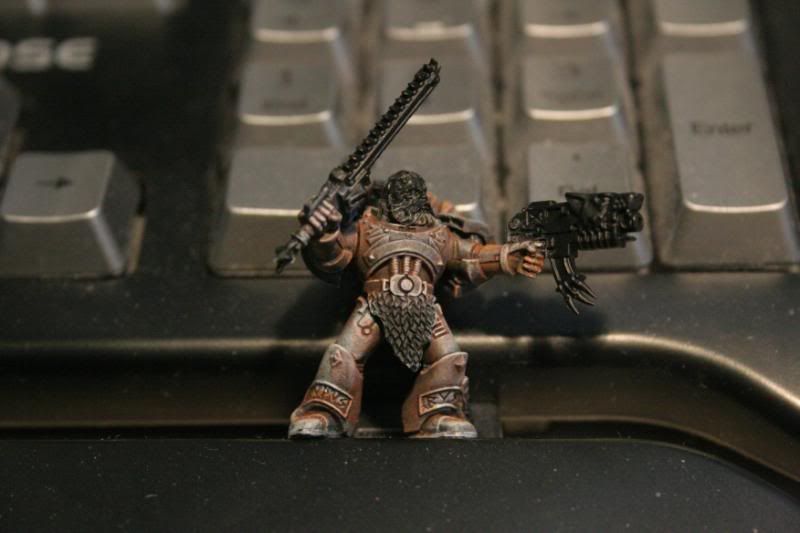
Now I create an 1:10 mix of Vermin Brown : Water and wash the darker/deeper areas of the model.
Step 8:
Now I create an 1:10 mix of Scorched Brown : Water and go over the entire model, but I try to get more in the darker/deeper parts of the model.
Step 9:
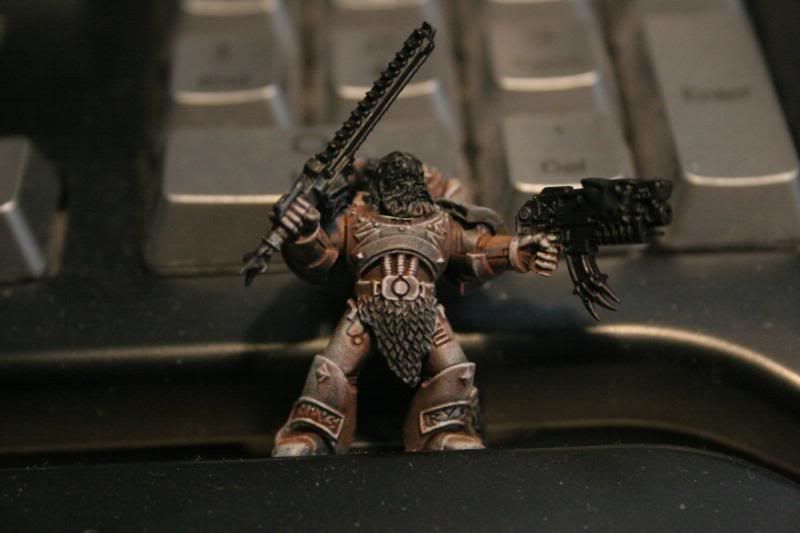
Now I go back, highlighting all the most prominent areas of the model.
You are now done :D
And just to show you guys why on earth it took 3 days to complete the tutorial, well... I kind of did it on many models at the same time....
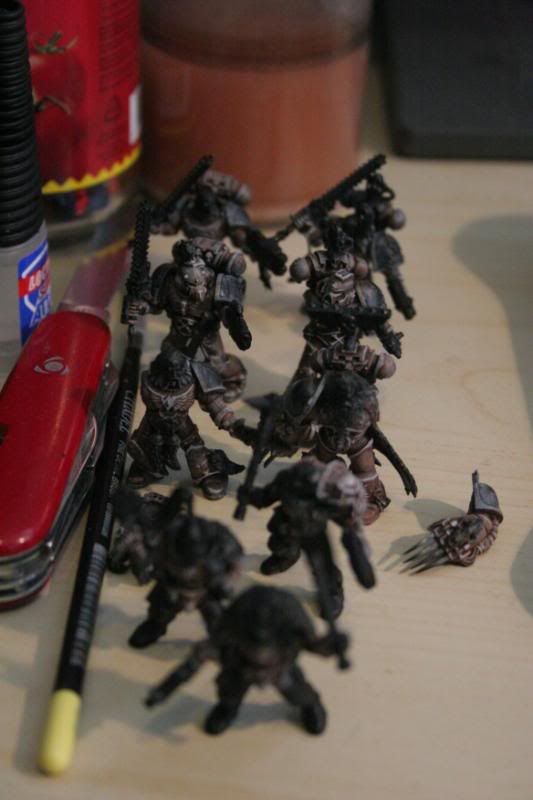
I'm hoping you'll enjoy this tutorial, please comment if you do :)
And I'll try to have 2-3 more models finished with my next post.
Cheers!
Sunday, January 10, 2010
Goldielocks gone bad?
Blood for the.... no wait, thats not right....is it?
Alrighty, since I managed to finish the 2nd space pup just now I am also bringing you the blood tutorial, step by step.
For this you will need:
-Stripple Brush (I cut one of my older drybrushes)
-Tamiya Clar Red Paint (this one in particular is needed)
-Chaos Black + Water (or Black Ink for those that still have it from the time when Citadel still had it in their range.
Step 1:
Stripple Tamiya Clear Red thickly on the places you want blood.
Step 2:
Wait for 30-40 seconds (I usually wait around 15-20 sec but that's because I have a hot lamp close by) which allows the Tamiya color to coagulate a bit.
Now Use the stripple brush to stab at the red, taking away some and giving texture to the painted area (making it look more gory).
Step 3:
Now create some black ink (1:1 Chaos Black : Water) or just use Black ink along with about as much Tamiya Clear Red as seen.
Mix them together and stripple over the clear red on the previously painted area; keep in mind not to cover all the brighter red.
Step 4:
Now redo the process of using an empty stripple brush to stab at the blood and remove the most of it (remember to again wait 30-40 sec for it to coagulate).
And now you're done.
Just to show how it looks on other areas I've made it to look that this model have been walking in/around/on corpses and thus have gotten blood on his boots and in the snow where ha have walked (as well as blood dripped/sprayed from the sword).
I hope you enjoyed the blood, now get busy painting !
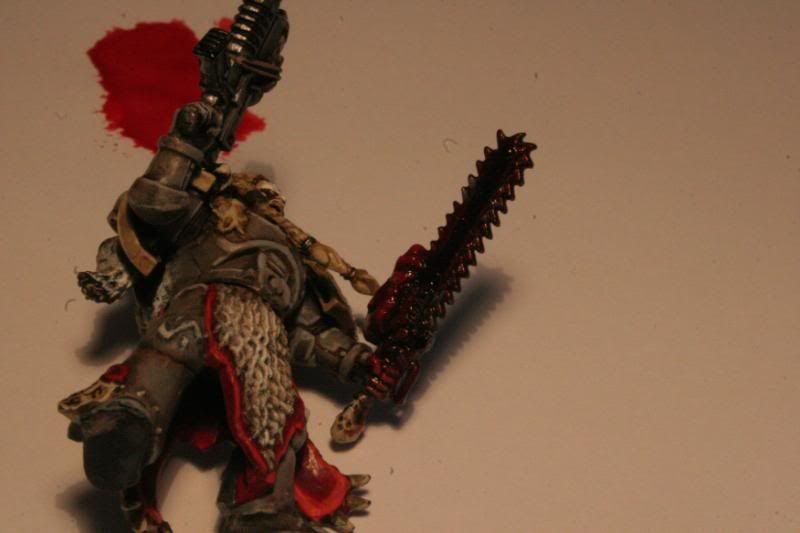
(And feel free to toss me links to finished models with this blood process used on them :D )
Cheers
Tuesday, January 5, 2010
Furry Tuesday?
Alrighty, today I was SUPPOSED to study, but well, that went out of the window and in flew a cold harsh breeze.
That's right, I'm pretty much finished with my 2nd wolfy.
I redid all pelts, and finished them off with a nice bright contrasting red (this model will be the centerpiece in his pack). I then finished off the skulls mounted onto the chainsword and the bolter, and when I was in the 7th layer I discovered that the tan i was working with was not Bleached Bone, but Kommando Khaki -Nice surprise! (That's why it looked so darn dark, luckily for me I felt it looked better that way than by using the same bright color I use on the ornate Bolter Wolfhead decorations on other marines)...
I still haven't decided if he will get black or blond hair, his base is already done so all needed is the blood effects on his chainsword (which I'll do after the hair) and then he's done.
I also finished my Wolf Priest (building/sculpting) today since I got the top of the staff I needed in the mail yesterday..
I removed that pesky hourglass and replaced it with more furry godness :D
Comments And Criticism always wanted and appreciated.
Blood and corpsepaint tutorial up tomorrow along with 2nd wolf finished :)
Subscribe to:
Posts (Atom)